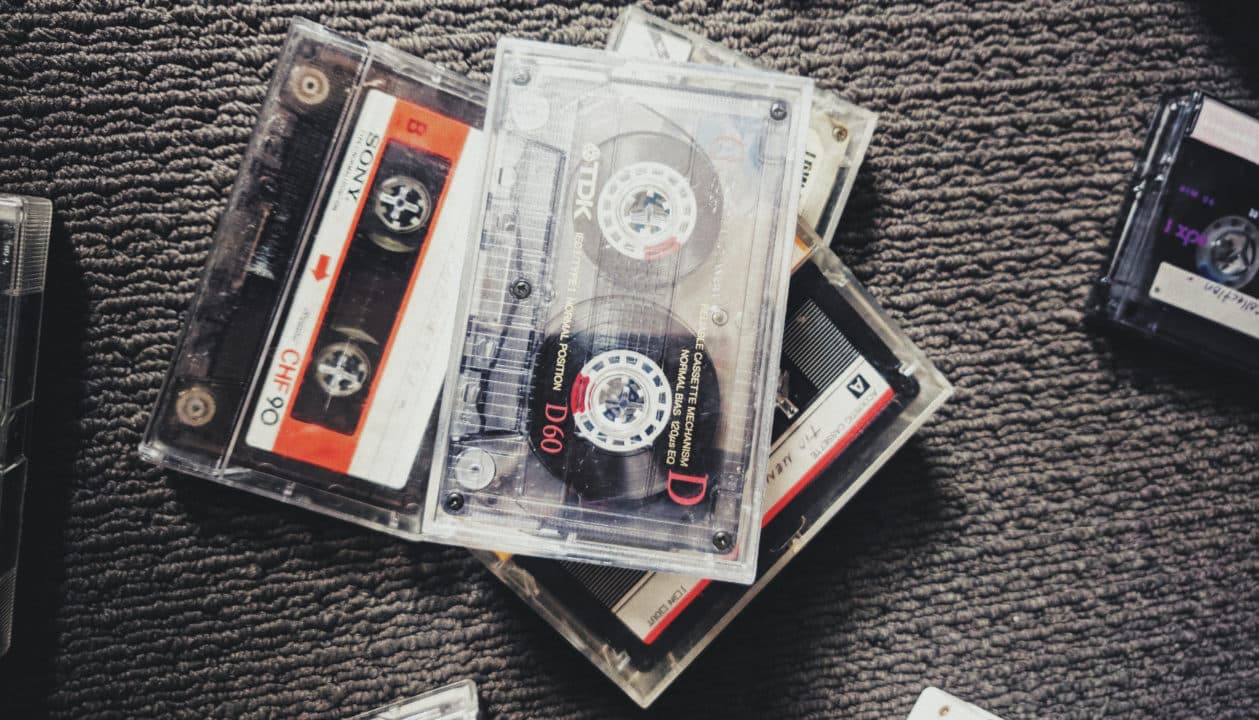
In today’s digital age, many of us have cherished memories stored on old tapes, such as VHS tapes, cassette tapes, or even reel-to-reel tapes. These tapes hold precious moments captured on film or recorded audio that we want to preserve for future generations. However, as time passes, these tapes degrade, and the devices to play them become obsolete. To ensure that your memories are not lost to time, converting tape to a digital format is essential. In this article, we will explore the importance of preserving memories through tape conversion and provide you with a step-by-step guide on how to convert tape to digital.
Why Convert Tape to Digital?
Converting tape to digital format offers several significant benefits when it comes to preserving your memories:
- Preservation: Tapes degrade over time due to factors like temperature, humidity, and wear. By converting them to a digital format, you create a digital copy that can be preserved for years to come without degradation or loss of quality. Digital files can be easily stored, backed up, and duplicated without any loss in fidelity.
- Easy Access and Sharing: Digital files are more accessible and shareable than physical tapes. Once you have digitized your tapes, you can easily view or listen to them on various devices, such as computers, smartphones, or tablets. Additionally, you can easily share your digital files with family and friends through email, cloud storage, or social media platforms.
- Space Saving: Tapes, especially VHS tapes, take up a significant amount of physical space. Converting them to digital files eliminates the need for bulky tape storage and frees up valuable space in your home.
- Future-Proofing: As technology continues to advance, tape players and recorders become obsolete. Converting your tapes to digital format future-proofs your memories by ensuring that they can be accessed and enjoyed in the years to come, regardless of changes in technology.
Now, let’s explore the step-by-step process of converting tape to digital:
Step 1: Gather the necessary equipment To convert your tapes to digital, you will need a few essential items:
- A tape player or recorder: Depending on the type of tape you have, you will need a compatible player or recorder. For VHS tapes, you will need a VCR. For cassette tapes, a cassette player or recorder will be required. Make sure the device is in good working condition and has the necessary audio/video output options.
- An analog-to-digital converter: This device connects your tape player to your computer and converts the analog signal to a digital one. It typically connects via USB and comes with software for capturing and saving the digital files.
Step 2: Set up your equipment Connect your tape player or recorder to the analog-to-digital converter using the appropriate audio/video cables. Make sure the connections are secure and properly configured. Connect the analog-to-digital converter to your computer via USB.
Step 3: Install the necessary software Most analog-to-digital converters come with software that allows you to capture and save the digital files. Install the software on your computer following the manufacturer’s instructions.
Step 4: Begin the conversion process Insert your tape into the tape player or recorder. Start playing the tape and use the software on your computer to capture the audio or video. The software should provide options for adjusting the quality settings and selecting the output format (e.g., MP3 for audio, MP4 for video). Start the recording process and let the tape play in real-time until the desired content has been captured.
Step 5: Edit and save the digital files Once you have finished recording, you can use video editing or audio editing software to make any necessary adjustments or enhancements to the captured content. This includes removing unwanted portions, enhancing audio quality, or adding titles and captions. After editing, save the digital files in a format and location of your choice. Consider creating backup copies to ensure their safety.
Step 6: Organize and catalog your digital files To easily locate and access your digitized memories, organize them in a logical and structured manner. Create folders or albums based on dates, events, or themes, and consider adding descriptive file names or metadata to make searching for specific memories more convenient.
Step 7: Store and back up your digital files Digital files are susceptible to data loss, so it’s crucial to store and back them up properly. Consider using external hard drives, cloud storage services, or both to ensure multiple copies and protection against hardware failures or accidents.
By following these steps, you can convert your tapes to digital format and preserve your cherished memories for years to come. Remember to take your time, handle the tapes with care, and enjoy the journey down memory lane as you revisit those special moments.
In conclusion, preserving memories through tape conversion is an essential process to ensure that your precious moments are not lost to time. By converting tape to digital format, you can preserve and future-proof your memories, make them easily accessible and shareable, save physical storage space, and safeguard them from degradation. By following the step-by-step guide outlined in this article, you can embark on the process of converting your tapes to digital with confidence and create a digital archive of your most treasured memories.
